3. Usage of Variables in CI/CD Pipelines
Secret variables are injected as environment variables during pipeline execution, enabling you to securely use them in your CI/CD scripts or commands, without hard-coding them in the .gitlab-ci.ymlfile.
3.1. Step by Step Guide
1. Adding Variables to Your Project
-
Navigate to your project in GitLab.
-
Go to
Settings>CI/CD. -
Expand the
Variablessection.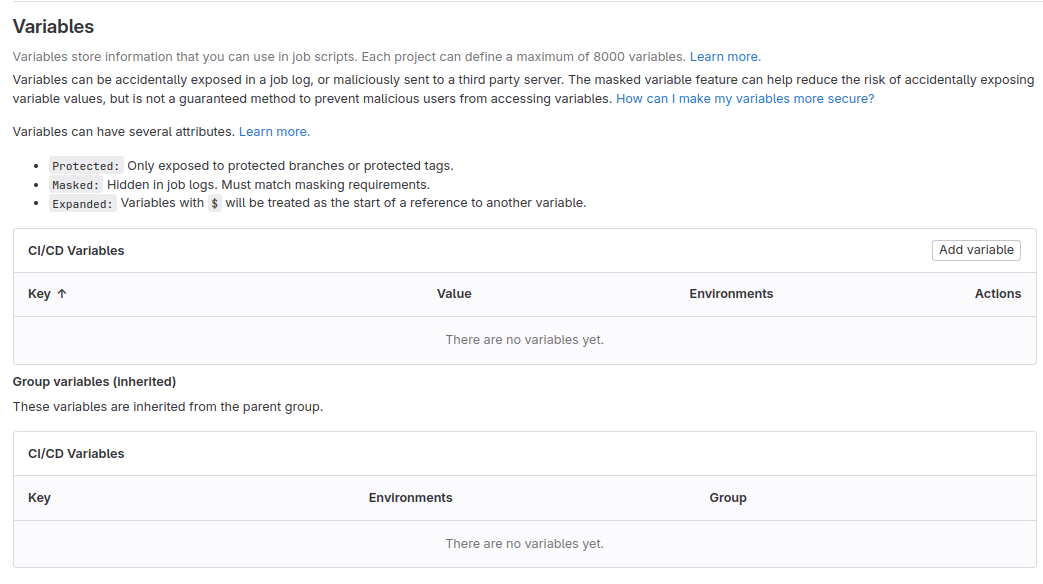
-
Click on
Add variable. -
Enter the
KeyandValuefor the variable.
- We will create 2 variables for this example:
- Variable 1:
- Key:
NORMAL_VAR_1 - Value:
ThisIsNormalValue1
- Key:
- Variable 2:
- Key:
NORMAL_VAR_2 - Value:
ThisIsNormalValue2
- Key:
- Variable 1:
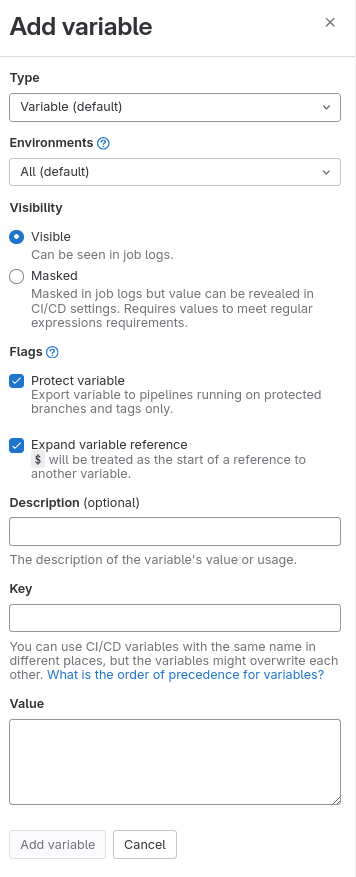
- Optionally, set the scope of the variable (Project-Level or Group-Level) and mark it as
ProtectedorMasked.- Protected: Only available in protected branches or tags.
- Masked: Prevents the variable’s value from being displayed in job logs.
- Note: We will cover protected and masked variables in later lessons.
- Click
Add variableto save the secret variable.
2. Using Variables in .gitlab-ci.yml
Once secret variables are added to your project, you can reference them directly within your .gitlab-ci.yml configuration file.
Example: Using a Secret Variable in a Job to Deploy an Application
deploy_production:
  stage: deploy
  script:
    - deploy_script.sh $PRODUCTION_API_KEY
  environment:
    name: production
  only: - master
In this example, $PRODUCTION_API_KEY is a secret variable injected into the deploy_script.sh script during pipeline execution.